Cloudflare WorkersでAPI認証を構築する完全ガイド
Cloudflare WorkersでAPI認証を構築する完全ガイド
この記事では、Cloudflare WorkersとWorkers KVを組み合わせて、承認要素(HWIDなど)を考慮したセキュアな認証APIを簡単に構築する方法を解説します。サーバーレスで高速、スケーラブルな認証システムをわずか数ステップで実現できます。
1. 前提条件と初期設定
まず、Cloudflareアカウントが必要です。まだお持ちでない場合は、Cloudflareの公式サイトでサインアップしてください。
次に、CLIツールであるWranglerをインストールします。これはWorkersの開発、デプロイを効率化する公式ツールです。
npm install -g wrangler
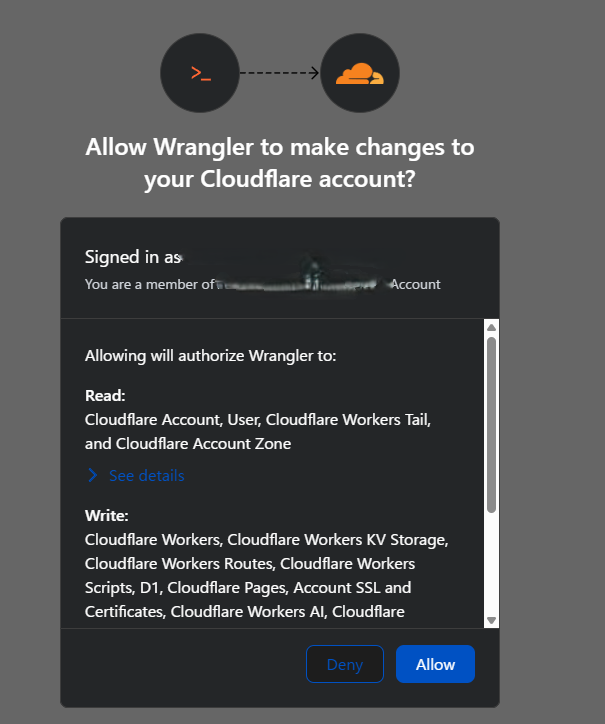
インストール後、Cloudflareアカウントにログインします。
wrangler login
ブラウザが開き、認証が求められます。許可すると、ログインが完了します。
ログイン成功時
2. 新規Workersプロジェクトの作成
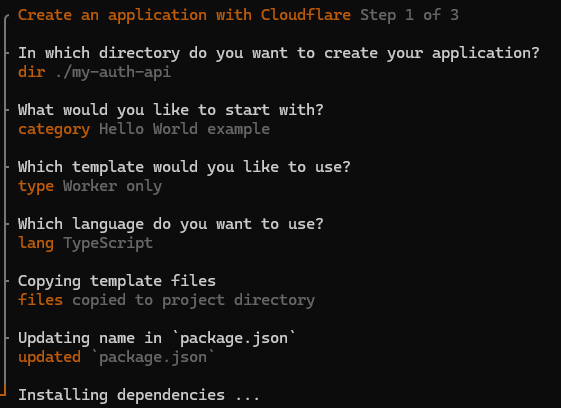
新しいWorkersプロジェクトを作成します。以下のコマンドを実行してください。
wrangler init my-auth-apinpm create cloudflare@latest -- my-auth-api
このコマンドはmy-auth-apiという名前のディレクトリを作成しセットアップします。
色々聞かれるので、hello world→worker only→typescriptを選択して待つ。
成功しました。
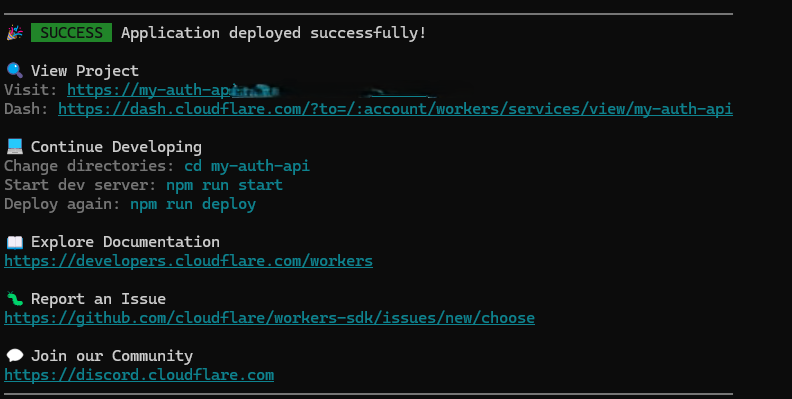
もしもdeployを選んでなくて、とりあえずdeployしたい場合は、プロジェクトのディレクトリに移動してから以下コマンドを実行
wrangler deploy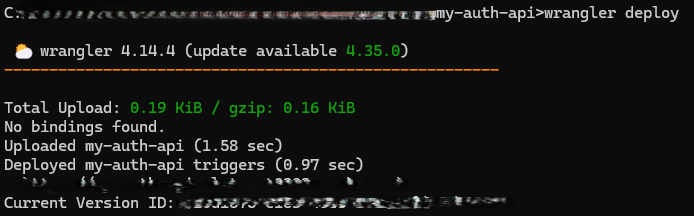
3. Workers KV名前空間の設定
認証情報を永続化するために、Workers KVを使用します。
実際にKV名前空間をデプロイし、IDを生成します。
今回は「AUTH_DATA」という名前空間でデプロイします。
npx wrangler kv namespace create AUTH_DATA成功するとこんな感じ
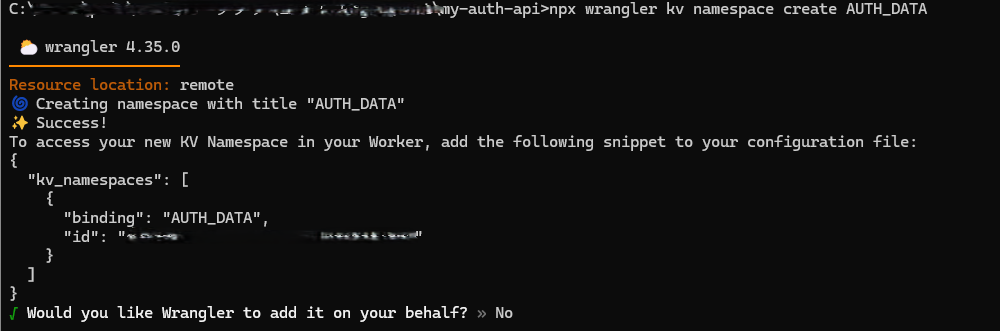
🌀 Creating namespace with title "AUTH_DATA"
✨ Success!
To access your new KV Namespace in your Worker, add the following snippet to your configuration file:
{
  "kv_namespaces": [
    {
      "binding": "AUTH_DATA",
      "id": "xxxxxxxxxxxxxxxxxxxxxxxxxxxxxxx"
    }
  ]
}
この「id」はメモっておこう。
ちなみに、webでもKV項目選択して作れます。

まず、ローカルでKVの名前空間を定義します。wrangler.jsoncファイルを開き、以下の行を追加します。
先ほどメモしたidが置き換え対象
wrangler.jsonc
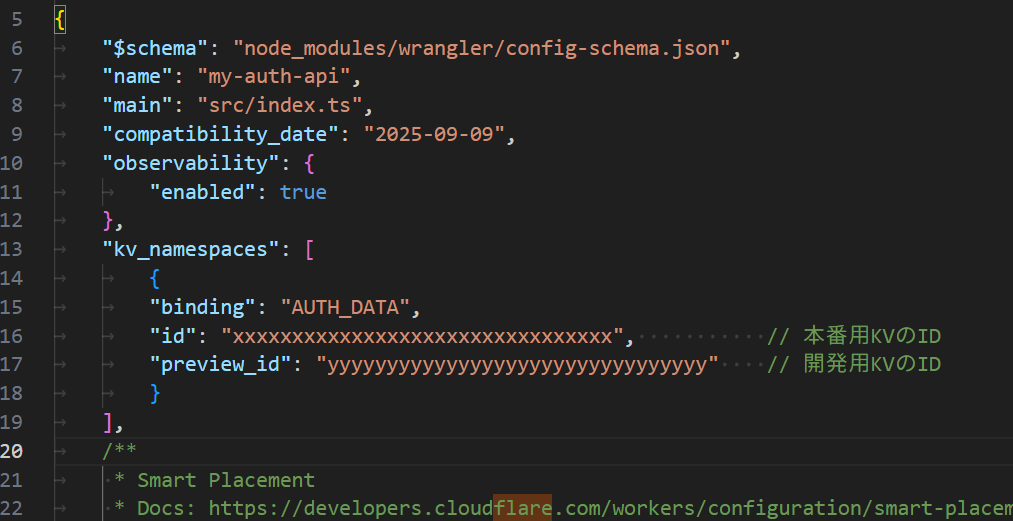
出力されたidを先ほど編集したwrangler.jsonc<YOUR_KV_NAMESPACE_ID>に貼り付けてください。
開発用のIdは不要なので、以下置き換えてコピーして下さい。
	"kv_namespaces": [
		{
		"binding": "AUTH_DATA",
		"id": "xxxxxxxxxxxxxxxxxxxxxxxxxxxxxxxx",           // 本番用KVのID
		}
	],
4. Workersスクリプトの実装
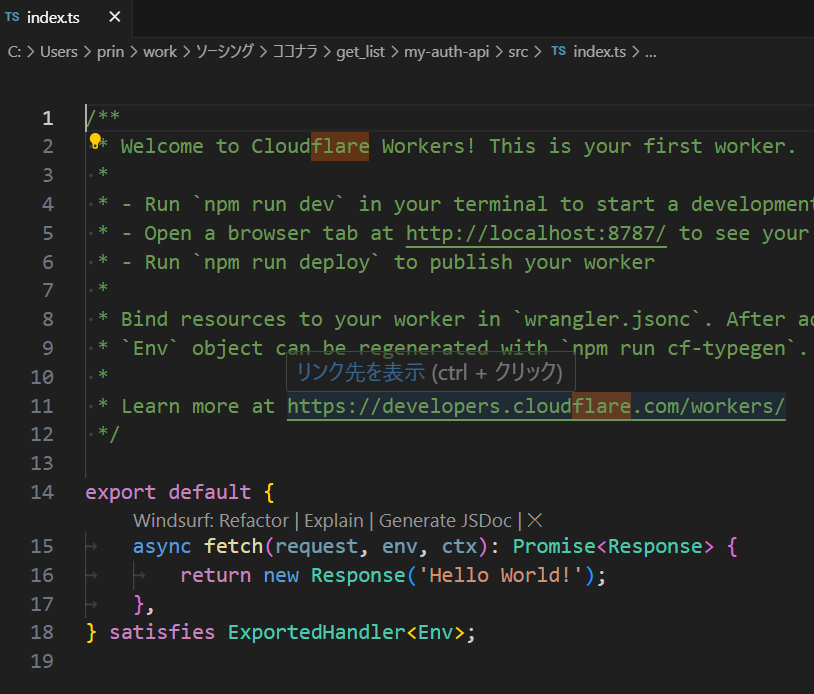
提供されたPythonコードの認証ロジックを、TypeScriptで実装します。src/index.tsファイルの中身を以下に置き換えてください。
以下の初期のテンプレートを置き換える。
置き換え後
src/index.ts
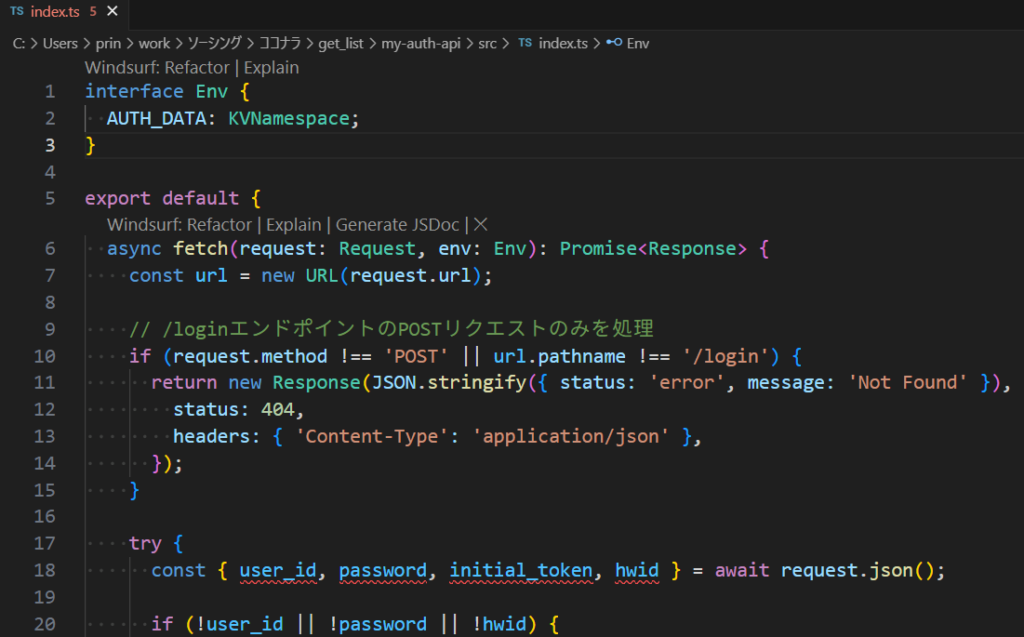
interface Env {
  AUTH_DATA: KVNamespace;
}

export default {
  async fetch(request: Request, env: Env): Promise<Response> {
    const url = new URL(request.url);

    // /loginエンドポイントのPOSTリクエストのみを処理
    if (request.method !== 'POST' || url.pathname !== '/login') {
      return new Response(JSON.stringify({ status: 'error', message: 'Not Found' }), {
        status: 404,
        headers: { 'Content-Type': 'application/json' },
      });
    }

    try {
      const { user_id, password, initial_token, hwid } = await request.json();

      if (!user_id || !password || !hwid) {
        return new Response(JSON.stringify({ status: 'error', message: 'Missing required fields' }), {
          status: 400,
          headers: { 'Content-Type': 'application/json' },
        });
      }

      const userKey = `user:${user_id}`;
      const userDataJson = await env.AUTH_DATA.get(userKey);

      if (!userDataJson) {
        // デモ用: ユーザーが存在しない場合、新規登録をシミュレート
        const newUser = { password, hwid, token: initial_token };
        await env.AUTH_DATA.put(userKey, JSON.stringify(newUser));
        return new Response(JSON.stringify({ status: 'success', message: 'New user registered and logged in.' }), {
          status: 200,
          headers: { 'Content-Type': 'application/json' },
        });
      }

      const userData = JSON.parse(userDataJson);

      // パスワードの検証
      if (userData.password !== password) {
        return new Response(JSON.stringify({ status: 'error', message: 'Authentication failed: Incorrect password' }), {
          status: 401,
          headers: { 'Content-Type': 'application/json' },
        });
      }

      // HWIDの検証
      if (userData.hwid && userData.hwid !== hwid) {
        return new Response(JSON.stringify({ status: 'error', message: 'HWID mismatch' }), {
          status: 403,
          headers: { 'Content-Type': 'application/json' },
        });
      }

      // 認証成功
      return new Response(JSON.stringify({ status: 'success', message: 'Authentication successful.' }), {
        status: 200,
        headers: { 'Content-Type': 'application/json' },
      });

    } catch (e) {
      return new Response(JSON.stringify({ status: 'error', message: `Internal server error: ${e.message}` }), {
        status: 500,
        headers: { 'Content-Type': 'application/json' },
      });
    }
  },
};
このスクリプトは、ユーザーが存在しない場合に自動的に新規登録を行うデモ実装です。本番環境では、事前のユーザー登録プロセスや、より強固なパスワードハッシュ化(例:bcrypt)を導入することを強く推奨します。
事前にユーザー情報を用意しておく場合の実装も紹介。
CLIでデータ事前登録
以下のコマンドで、user_id:user1をキーとして上記のJSONデータをKVに登録します。
wrangler kv key put user:user1--namespace-id=xxxxxxxxxxxxxx --value='{"password":"your_password","token":"your_initial_token","hwid":""}'注意!windowsのcmdやシェル系は”の解釈が異なるので以下コマンドでないと”が消えます!
wrangler kv key put user:user1 --namespace-id=xxxxxxxxxxxxxx --value="{\"password\":\"your_password\",\"token\":\"your_initial_token\",\"hwid\":\"\"}"ただし、このコマンドは開発ローカル用に登録されます。以下でデータも確認可能
wrangler kv key get user:user1--namespace-id=xxxxxxxxxxxxxx --remote を付けると、Cloudflare アカウント上の 実際のKVストア に保存されます。
wrangler kv key put user:user1--namespace-id=xxxxxxxxxxxxxx --value='{"password":"your_password","token":"your_initial_token","hwid":""}' --remote同様にデータの確認にも –remote をつけて見れる。
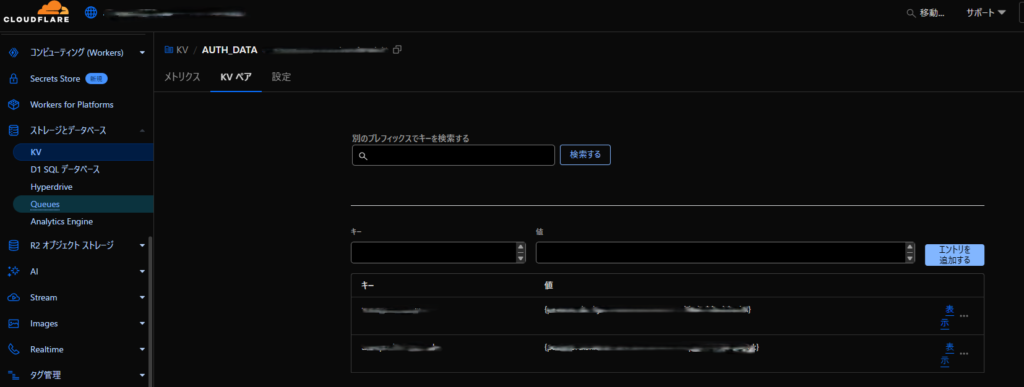
wrangler kv key get user:user1--namespace-id=xxxxxxxxxxxxxx --remotewebでデータ事前登録
正直、webでやる方が早いかもしれません。
データも一覧で見れて追加も「エントリーを追加」で簡単。
認証の実装
// src/index.ts

interface Env {
  AUTH_DATA: KVNamespace;
}

export default {
  async fetch(request: Request, env: Env): Promise<Response> {
    const url = new URL(request.url);

    // /loginエンドポイントのPOSTリクエストのみを処理
    if (request.method !== 'POST' || url.pathname !== '/login') {
      return new Response(JSON.stringify({ status: 'error', message: 'Not Found' }), {
        status: 404,
        headers: { 'Content-Type': 'application/json' },
      });
    }

    try {
      const { user_id, password, initial_token, hwid } = await request.json();

      if (!user_id || !password || !initial_token || !hwid) {
        return new Response(JSON.stringify({ status: 'error', message: 'Missing required fields' }), {
          status: 400,
          headers: { 'Content-Type': 'application/json' },
        });
      }

      const userKey = `user:${user_id}`;
      const userDataJson = await env.AUTH_DATA.get(userKey);

      // ユーザーが存在しない場合は認証失敗
      if (!userDataJson) {
        return new Response(JSON.stringify({ status: 'error', message: 'Authentication failed: User not found' }), {
          status: 401,
          headers: { 'Content-Type': 'application/json' },
        });
      }

      const userData = JSON.parse(userDataJson);

      // パスワードとトークンの厳密な照合
      if (userData.password !== password || userData.token !== initial_token) {
        return new Response(JSON.stringify({ status: 'error', message: 'Authentication failed: Incorrect password or token' }), {
          status: 401,
          headers: { 'Content-Type': 'application/json' },
        });
      }

      let message = 'Authentication successful.';

      // HWIDの処理
      if (!userData.hwid || userData.hwid === "") {
        // HWIDが未登録の場合、新規登録
        userData.hwid = hwid;
        await env.AUTH_DATA.put(userKey, JSON.stringify(userData));
        message = 'Authentication successful. HWID registered.';
      } else if (userData.hwid !== hwid) {
        // HWIDが既に登録されており、一致しない場合は認証失敗
        return new Response(JSON.stringify({ status: 'error', message: 'Authentication failed: HWID mismatch' }), {
          status: 403,
          headers: { 'Content-Type': 'application/json' },
        });
      }

      // すべてのチェックを通過
      return new Response(JSON.stringify({ status: 'success', message: message }), {
        status: 200,
        headers: { 'Content-Type': 'application/json' },
      });

    } catch (e) {
      return new Response(JSON.stringify({ status: 'error', message: `Internal server error: ${e.message}` }), {
        status: 500,
        headers: { 'Content-Type': 'application/json' },
      });
    }
  },
};
5. ローカルでの動作確認
デプロイ前に、ローカル環境でAPIの動作をテストできます。
wrangler dev --local
このコマンドを実行すると、Workersがローカルサーバーで起動します。http://127.0.0.1:8787/loginにアクセスし、curlなどでリクエストを送信してテストしましょう。
# 新規ユーザーの認証とHWID登録
curl -X POST http://127.0.0.1:8787/login -H "Content-Type: application/json" -d '{
  "user_id": "test_user",
  "password": "my_password",
  "initial_token": "abc12345",
  "hwid": "my_hardware_id_1"
}'

# 既に登録済みのユーザーで再認証
curl -X POST http://127.0.0.1:8787/login -H "Content-Type: application/json" -d '{
  "user_id": "test_user",
  "password": "my_password",
  "initial_token": "abc12345",
  "hwid": "my_hardware_id_1"
}'

# 誤ったHWIDでの認証(認証失敗)
curl -X POST http://127.0.0.1:8787/login -H "Content-Type: application/json" -d '{
  "user_id": "test_user",
  "password": "my_password",
  "initial_token": "abc12345",
  "hwid": "my_hardware_id_2"
}'
6. Cloudflareへのデプロイ
テストが成功したら、いよいよ本番環境にデプロイします。
wrangler deploy
このコマンド一つで、あなたのWorkersスクリプトとKVバインディングがCloudflareのグローバルネットワークに展開されます。デプロイが完了すると、https://my-auth-api.<your-subdomain>.workers.devのようなURLが表示されます。
このURLを、PythonコードのAPI_BASE_URLとして設定すれば、Cloudflare Workersで構築した認証APIと連携できます。
完成!
これで、サーバーの維持管理を一切気にすることなく、ユーザー認証とHWID検証を行うAPIが完成しました。Cloudflare Workersは、グローバルなエッジネットワーク上で動作するため、世界中のどこからでも低遅延で高速なレスポンスが期待できます。
参考
ローカル開発環境でCloudflareのWorker/KV使用例(Qiita APIを題材に)
Cloudflare Workers + Hono + KV でAPIを作ってみた